
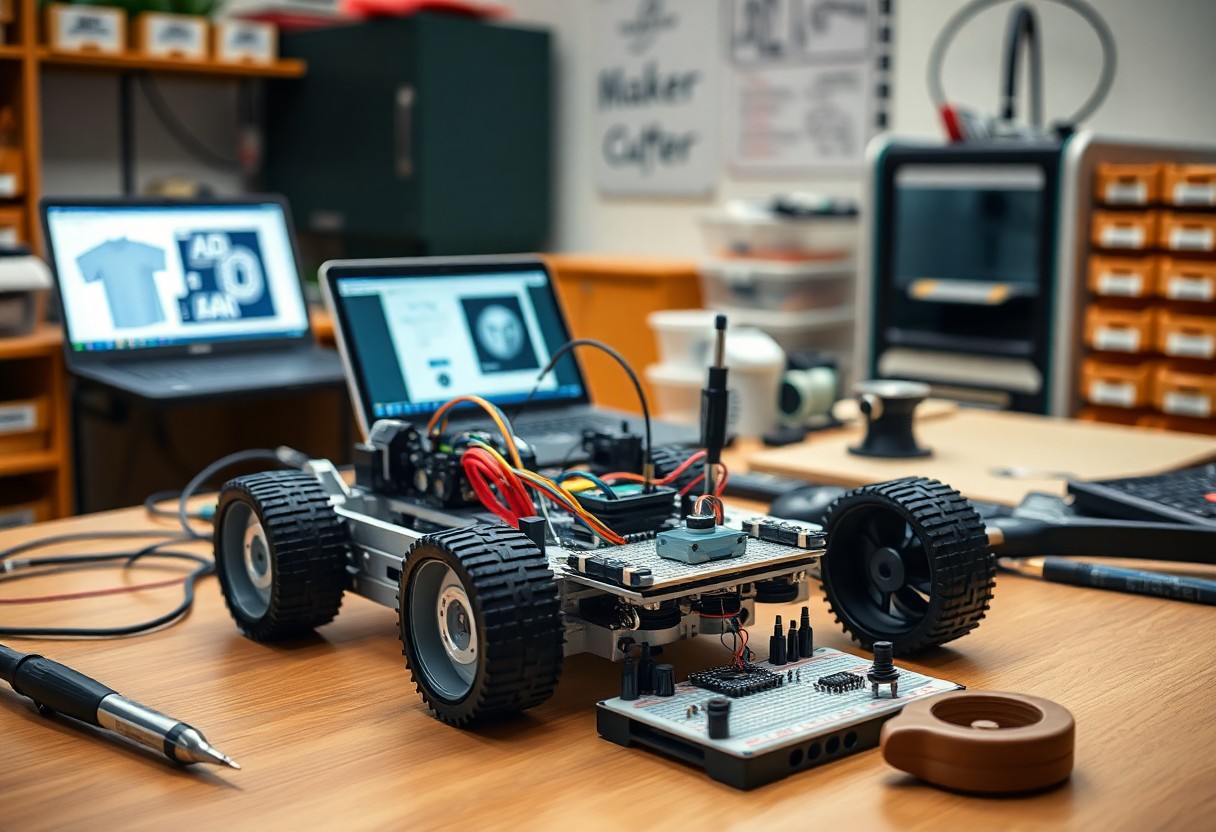
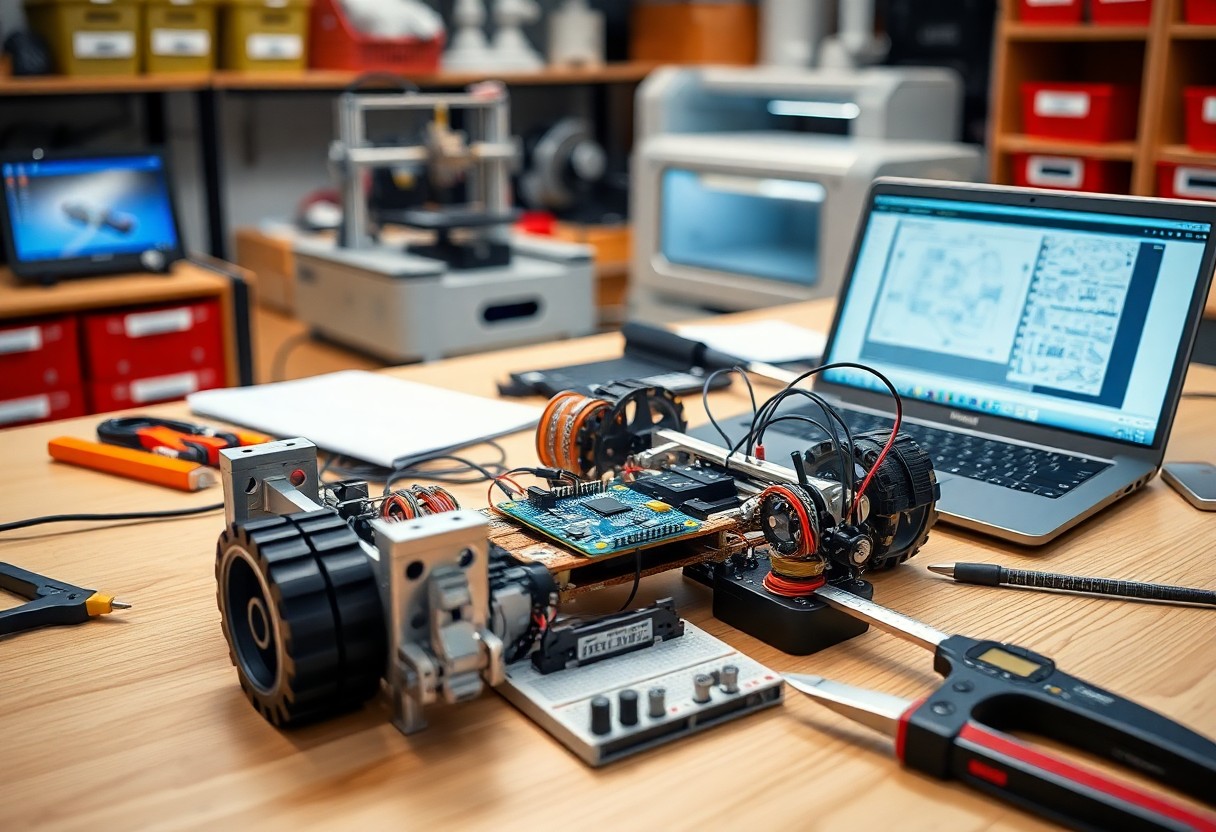
With step-by-step plans and focused material lists, you build classroom robots that teach mechanics, electronics, and programming, assess student learning, and scale project complexity for different grade levels.
Fundamental Design Principles
Design clear constraints, modular components, and accessible documentation so you can scope projects that teach systems thinking while matching student skill levels and available time.
Structural Integrity and Material Selection
Choose materials and fasteners that tolerate classroom handling, simplify fabrication, and reduce cost so you can focus teaching mechanics and iteration.
Kinematics and Motion Planning for Educational Platforms
Plan kinematic chains and control strategies with clear learning goals so you can demonstrate forward/inverse solutions and avoid overcomplex systems for students.
You should define desired degrees of freedom, kinematic links, and workspace constraints so students can map physical design to mathematical models. Start with planar two- or three-link arms to teach forward and inverse kinematics before adding spatial joints and redundancy. Use simple PID or velocity-based controllers in early labs, then introduce trajectory generation and collision-aware planners as skills grow. Test in simulation and with low-power actuators first, and provide clear debugging checkpoints so students learn to identify singularities, limits, and encoder errors.
Core Electronic Architecture
This section outlines how you structure sensors, controllers, buses, and actuators into a modular electronic backbone, emphasizing signal integrity, EMI control, and accessible wiring for classroom builds.
Microcontrollers and Processing Units
Choose a microcontroller that matches your I/O needs, processing speed, and learning objectives; prioritize clear documentation, community support, and easy programming tools for students.
Power Management and Distribution Systems
Plan power rails, battery selection, and converters so you can supply stable voltages, protect against shorts, and measure runtime without adding unnecessary complexity to student projects.
Design a power architecture that includes voltage regulators, distribution buses, current sensing, and polarity protection. Use switching converters for efficiency, linear regulators where noise matters, and fuse or PTC protection per rail. Provide clear labeling and accessible connectors so you can safely test, swap batteries, and measure currents with multimeters.
Software Development and Control Logic
You integrate sensors, actuators, and timing into modular firmware, implement state machines and safety checks, and prioritize real-time control and testability so students can iterate on both code and behavior.
Programming Environments and Language Selection
Choosing an environment depends on your students’ skill level and hardware; pick block-based tools for beginners, Python or C/C++ for advanced projects, and prefer IDEs with debugging and simulator support.
Algorithm Design for Autonomous Navigation
Designing sensor fusion, path planning, and obstacle-avoidance algorithms around limited compute and noisy sensors will help you balance performance, predictability, and test coverage.
Testing different localization and path-planning approaches in simulation lets you compare Kalman filters, particle filters, PID controllers, and A*/RRT planners against sensor noise and latency; profile CPU and memory, add safety timeouts, and design graceful degradation when perception or control fails.
Fabrication and Prototyping Methodologies
You combine quick digital fabrication with hands-on builds; consult A guide to introducing kids to robotics and machine learning for classroom-friendly robot projects and starter workflows.
Rapid Prototyping via 3D Printing and Laser Cutting
Rapid 3D printing and laser cutting let you iterate chassis designs fast, test fit, and refine part geometry before committing to final materials.
Circuit Assembly and Soldering Standards
Follow industry soldering standards so you assemble reliable boards, use correct flux, and apply consistent joint quality for safer student projects.
Inspect each assembly and ensure you use ESD mats, set irons to 320-350°C for lead-free or 300-320°C for leaded solder, select 0.7-1.0 mm tips for through-hole, verify joints with magnification, test continuity, and enforce fume extraction plus PPE for student safety.
Instructional Integration and Project Management
You sequence build phases so each hands-on task teaches a specific engineering concept, includes measurable assessment criteria, and fits curriculum timelines to keep learning objectives clear.
Aligning Technical Tasks with Learning Objectives
Map technical tasks to learning objectives so you can create stepwise skill goals, rubrics, and deliverables that reflect engineering practices and assessment standards.
Safety Protocols and Collaborative Workflows
Set clear safety rules, PPE requirements, and emergency procedures while assigning team roles so you maintain safe, productive collaboration during builds.
Develop a safety program with initial training, routine tool and soldering checks, and mandated PPE; give you an incident-reporting workflow and designated supervisors for hazardous tasks. Schedule drills, keep first-aid and fire-suppression gear accessible, and require signed behavior agreements. For teamwork, define communication channels, version-control practices for code and CAD, role rotation to balance skills, and checkpoints to resolve conflicts or technical blockers quickly.
Final Words
With this in mind you should set clear objectives, enforce safety, use hands-on prototyping, and iterate designs so you teach engineering principles effectively while controlling scope, cost, and schedule.