
This guide shows you how to build a voice-controlled robot at home using affordable, easy-to-find components. You’ll learn to connect a microcontroller, motor driver, and microphone module, then program the system to respond to spoken commands. With clear steps and no prior robotics experience required, you’ll have a working voice-activated robot in hours.
Assessing Core Hardware Requirements
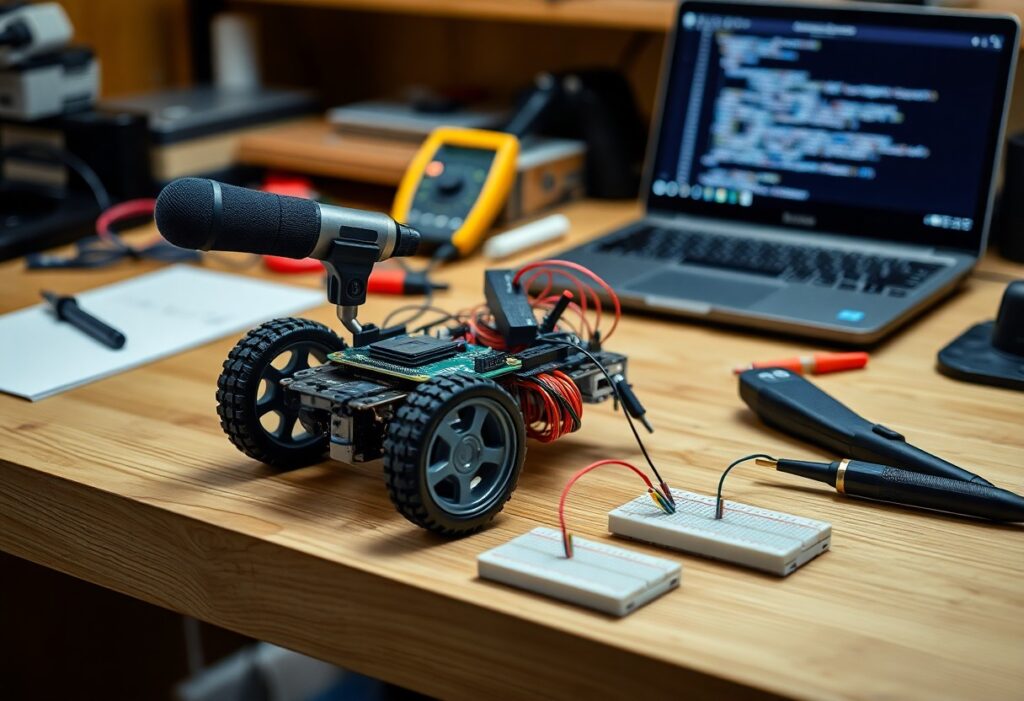
Every voice-controlled robot starts with the right components. You’ll need a microcontroller, voice recognition module, motor driver, DC motors, a chassis, and a power source. Matching these parts ensures smooth communication between voice commands and movement. Plan each piece carefully to avoid compatibility issues down the line.
Factors in choosing microcontrollers and voice modules
Matching processing power with response speed defines your robot’s performance.
- Choose microcontrollers like Arduino or ESP32 for reliable voice integration
- Opt for voice modules that support offline recognition for faster response
- Ensure pin availability for connecting sensors and motor drivers
Perceiving real-time voice input depends on how well these components sync.
Selecting compatible motors and chassis for indoor use
Smooth indoor navigation demands lightweight motors and a stable frame. Small DC gear motors work well on flat surfaces, while a compact plastic or aluminum chassis keeps the build agile. Match wheel size to floor type-smaller wheels suit tiles or hardwood. Stability and low power draw matter most in confined spaces.
Indoor environments require precision over power. Your robot won’t face rough terrain, so high-torque motors are unnecessary. Instead, focus on consistent RPM and low current draw to extend battery life. A symmetrical chassis with a low center of gravity prevents tipping during turns. Pair these with rubber-tired wheels for better grip on smooth floors, ensuring accurate movement when responding to voice cues.
How to Set Up the Software Environment
Setting up the software environment begins with choosing a compatible operating system, preferably a lightweight Linux distribution like Raspberry Pi OS. You’ll need Python installed, along with package managers such as pip to streamline library installations. Ensure your system is updated and connected to the internet for smooth downloads and dependency resolution.
Installing necessary speech recognition libraries
Install Python’s SpeechRecognition library using pip to enable voice input processing. This package supports multiple engines, including Google Web Speech API. You may also need pyaudio to capture microphone input, so verify that your device’s audio hardware is recognized during setup.
Configuring the development IDE for robot control
Choose an IDE like Thonny or VS Code for writing and debugging control scripts. Install extensions for Python and microcontroller support if applicable. Set up project folders to organize voice command handlers and motor control logic, ensuring quick access to critical files during testing and iteration.
Configuring the development IDE for robot control means more than just installing plugins. You should enable real-time debugging and serial monitor integration to observe how voice commands translate into motor actions. Link your IDE directly to the microcontroller or single-board computer driving the robot, allowing immediate feedback when adjusting sensitivity or command thresholds. This tight loop between code and response sharpens performance over time.
How to Assemble the Mechanical Structure
Start by securing the chassis base and attaching the wheels to the DC motors using the provided brackets. Mount the motors firmly so they align with the wheel axles for smooth movement. Attach the caster wheel at the rear for balance. Your robot’s frame should now support stable, four-point contact with the ground.
Wiring the motor drivers to the central processor
Connect each motor’s leads to the corresponding terminals on the motor driver module. Use jumper wires to link the driver’s input pins to designated digital output pins on your microcontroller. Double-check polarity and connections before powering the system to prevent short circuits or component damage.
Integrating the power supply and voltage regulators
Attach the battery pack to the power distribution node and connect a voltage regulator to step down the supply to safe levels for the microcontroller. Ensure all ground lines share a common reference to avoid signal noise and erratic behavior in voice recognition or motor control.
Matching your robot’s power needs with the right battery capacity is important. Most voice-controlled robots run on 6-12V systems, so a 9V rechargeable battery or a 7.4V LiPo pack works well. Use a 5V linear regulator like the LM7805 to power the microcontroller and voice module separately from the motors, reducing electrical interference. Include a power switch in the main line for easy control and always insulate exposed connections to prevent shorts.
Programming Voice Command Logic
You define how your robot responds to spoken input by writing logic that interprets audio data as actionable commands. Using a microcontroller like Arduino or Raspberry Pi, your code captures voice input through a speech recognition library, converts it to text, and triggers specific functions based on keywords. This core loop runs continuously, enabling real-time interaction between you and your robot.
Mapping verbal triggers to mechanical movements
Each recognized phrase connects directly to a motor action through simple conditional statements. Saying “move forward” activates a function that powers the wheels in unison, while “turn right” triggers a timed differential rotation. You assign these responses in your code, ensuring clear, one-to-one relationships between words and motions for reliable control.
Implementing error handling for unrecognized phrases
Your robot should respond gracefully when it doesn’t understand a command. A default case in your conditional logic catches unrecognized input and prompts you to try again, preventing freezes or erratic behavior. This small addition improves usability and makes interactions feel more natural, even when speech isn’t perfectly clear.
When the system fails to match a phrase, it’s necessary to provide immediate feedback. You can program an audio cue or LED signal to indicate the command wasn’t recognized, then resume listening without restarting the program. This resilience ensures continuous operation and builds confidence in day-to-day use, especially in noisy environments where misinterpretations are more likely.
Tips for Optimizing Voice Accuracy
- Use a high-quality microphone for clearer input
- Speak clearly and consistently during training
- Reduce ambient noise with physical barriers
- Train the model with varied voice samples
Perceiving 16 Voice Controlled Robot Car Project With PicoBricks helps refine recognition in real-world conditions.
Strategies for reducing background noise interference
Place your robot in a quiet environment during initial testing. Use directional microphones to focus on your voice. Acoustic shields or foam can absorb stray sounds. Perceiving clean audio improves command reliability.
Calibrating microphone sensitivity for various distances
Adjust gain settings based on how far you stand from the robot. Test responses at 1, 3, and 6 feet to find the optimal range. Overly sensitive mics pick up noise, while low settings miss commands. Perceiving consistent input ensures stable control.
Start by measuring the robot’s response at different distances in a controlled space. Gradually tweak the microphone’s gain until voice commands register accurately from up to six feet away without false triggers. Re-test after each adjustment to confirm improvements in real-time responsiveness.
Evaluating Operational Factors
- Power consumption
- Command response time
- Environmental interference
- Motor performance under load
The success of your voice-controlled robot depends on consistent performance across real-world conditions. Monitor how each component behaves during extended operation to identify weak points early.
Testing battery efficiency under continuous load
Run your robot at full operational capacity while logging voltage drop over time. Use a multimeter or dedicated monitoring module to track discharge patterns. The battery’s ability to sustain performance dictates runtime and reliability in daily use.
Measuring response latency in command execution
Issue voice commands while recording the time between audio input and physical response using a high-frame-rate camera or logic analyzer. Repeat across different environments and distances. The consistency of response timing determines how natural and reliable the control feels.
Latency isn’t just about speed-it’s about predictability. When you say “move forward,” delays longer than 300 milliseconds become noticeable and disrupt control flow. Background processes, Wi-Fi congestion, or inefficient code can add lag. Optimize by minimizing intermediate steps between speech recognition and motor activation. The robot should react as if it’s an extension of your voice.
Conclusion
Now you have all the steps to build a voice-controlled robot at home using affordable components and basic coding. You can connect a microcontroller, motor driver, and voice recognition module to create responsive movement. With power, programming, and testing, your robot follows spoken commands reliably. You gain hands-on experience in robotics and automation through practical application.


