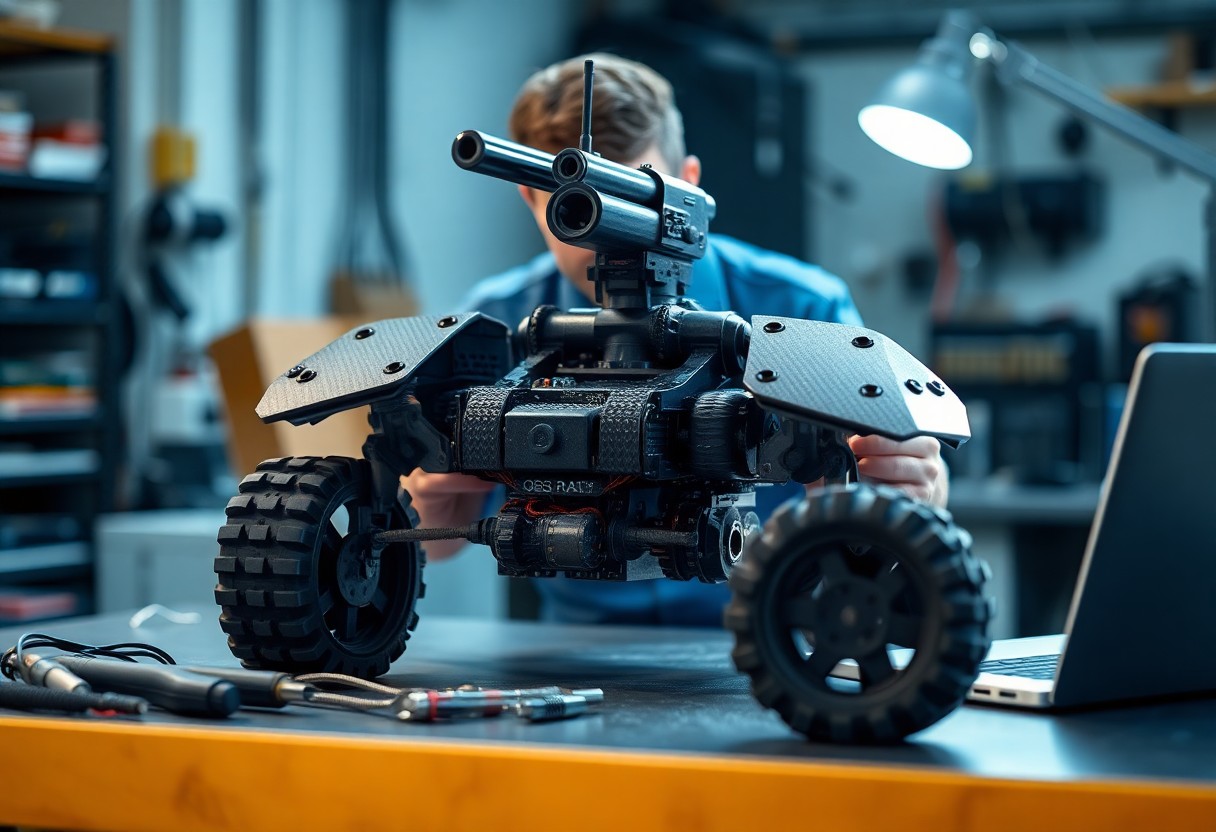
Building a Remote-Controlled Combat Robot
Over the past decade, hobbyists and engineers alike have turned to building remote-controlled combat robots as a hands-on way to explore mechanics, electronics, and strategy. You design for durability, speed, and weapon effectiveness, balancing power with control. Every component, from motors to radio systems, must work in sync under high stress. This guide walks you through the core principles and practical steps to build your own competitive machine.
The Choice of Iron and Frame
Your robot’s durability starts with smart material selection. The frame must balance strength and weight, ensuring agility without sacrificing protection. You’ll need materials that withstand direct hits while housing motors, batteries, and controls securely. Aluminum may save weight, but when impacts are inevitable, steel often proves the smarter call.
Hardened Steel and Weight
Steel brings resilience, but demands careful planning. You’re not just adding armor-you’re managing mass that affects speed and maneuverability. High-hardness steel resists shearing and deformation, imperative when facing spinning weapons. Choose thickness based on expected impact zones, never overbuilding where it hampers performance.
Welding for the Strike
Every weld is a potential failure point under combat stress. You need clean, consistent joints that distribute force without cracking. Use MIG or TIG welding for precision, focusing on high-stress areas like weapon mounts and chassis connections. Poor welds won’t survive the first real hit.
Welding isn’t just about joining metal-it’s about maintaining structural integrity under repeated shock. You must pre-fit all components before final welding, ensuring alignment stays true after heat exposure. Overheating can warp thin sections, so stagger welds and let the frame cool. Reinforce critical junctions with gussets or backing plates, and always inspect each seam for penetration and consistency. Your robot’s survival depends on it.
The Heart of the Machine
Your robot’s performance lives or dies by its drivetrain. This system transforms electrical energy into motion, enabling speed, agility, and impact force. Choosing the right components ensures your bot responds instantly to commands and survives repeated punishment in the arena.
Selection of the Drive Motors
You need motors that balance torque and RPM for your weight class. High torque lets you push opponents, while sufficient speed ensures battlefield control. Brushed or brushless, your choice depends on power availability and controller compatibility-always match motor specs to your strategy.
Mounting the Gearboxes
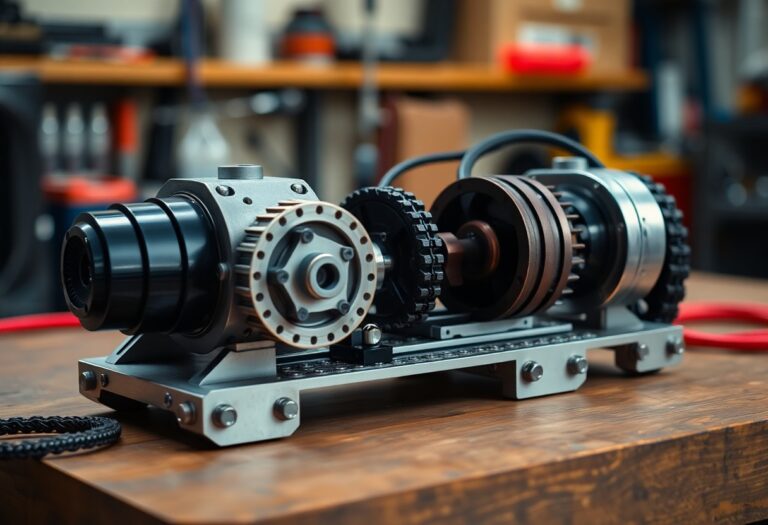
Secure gearboxes firmly to prevent misalignment under stress. Use metal brackets or custom mounts that absorb shock without flexing. Proper alignment with the motor shafts ensures smooth power transfer and reduces wear during aggressive maneuvers.
Mounting the gearboxes demands precision. Misaligned housings cause binding, increasing strain on gears and motors. Use shims or adjustable mounts to fine-tune position before tightening. Ensure output shafts connect cleanly to wheels or sprockets, minimizing play. A well-mounted gearbox operates quietly and handles repeated impacts without loosening.

The Power in the Wire
Every movement, strike, and defensive maneuver relies on clean, consistent power delivery. You need to treat wiring not just as connections, but as the nervous system of your robot. Poor choices here lead to voltage drops, overheating, or sudden shutdowns mid-match. Your robot’s performance lives and dies by how well you manage the flow from battery to components.
Battery Capacity and Discharge
You must match battery capacity to your motor load and expected fight duration. A 5000mAh LiPo may seem sufficient, but high-current weapons can drain it in seconds. Pay attention to discharge ratings-using a 20C pack on a 60A system risks voltage sag and damage. Choose a battery that sustains peak loads without exceeding safe limits.
Wiring the Main Circuit
Thick gauge wires carry power from the battery to the speed controllers and weapon motor. You’ll use 10-12 AWG silicone wire for main lines to handle surges. Secure all connections with crimped lugs and heat shrink, avoiding loose strands that could short. Neat routing prevents snags and simplifies troubleshooting.
Routing begins at the battery terminals, running power through a master switch before splitting to ESCs and the weapon controller. Use ring terminals for solid contact and bolt connections tightly to copper bus bars or terminal blocks. Include inline fuses on high-draw circuits-this protects both equipment and you during testing. Keep high-current paths short and parallel to reduce resistance and inductive kickback that can interfere with control signals.
The Signal Through the Air
Radio control is what brings your combat robot to life, translating your commands into motion and action. Getting reliable signal transmission means pairing the right transmitter and receiver while avoiding interference. For beginners, understanding the basics starts with community knowledge-check out this How to get started, to build my own combat robot? discussion for real-world tips from builders.
Binding the Radio Receiver
Your transmitter must recognize the receiver before your robot responds correctly. Power up the receiver first, then activate bind mode on the controller as instructed by the manufacturer. A successful link typically confirms with a solid light-test responsiveness before every match.
Fail-Safe Protocols
Signal loss can leave your robot uncontrolled and dangerous. Set up a fail-safe so motors stop or revert to neutral when connection drops. Most modern receivers allow you to program this behavior during binding using a supported transmitter.
If the arena Wi-Fi congests or your signal drops mid-match, a properly configured fail-safe prevents runaway bots. You program it by transmitting a neutral or stop command to the receiver while in setup mode, ensuring the robot defaults to safety when it can’t hear you. This step isn’t optional-it’s expected by most competition rules.
The Instrument of the Strike
Your robot’s offensive capability hinges on the weapon system you choose. A well-designed striker turns stored energy into destructive motion, delivering blows that can disable or flip an opponent. Speed, mass, and placement all determine effectiveness in the arena.
The Spinning Kinetic Mass
Spinning weapons rely on rotational inertia to build destructive potential. You mount a heavy bar, disc, or drum to a high-torque motor or pneumatic drive, allowing it to accelerate into a blur of motion. The faster it spins, the harder it hits-timing and exposure matter just as much as power.
Impact and Force
Force multiplies when mass meets velocity at the point of contact. You calculate impact energy using kinetic formulas, but real-world results depend on structural rigidity and strike angle. A glancing blow wastes energy, while a direct hit transfers maximum punishment.
Every collision tests both your design and your opponent’s. You feel the jolt through the controller when your spinner connects cleanly-chassis flex, motor strain, battery draw. Energy disperses through frames, joints, and armor plating, so you reinforce weak points and balance aggression with durability. Winning isn’t just about power; it’s about delivering it without breaking yourself.
The Test of the Arena
Now it’s time to see what your robot can do under pressure. The arena strips away theory and exposes every flaw, rewarding precision, durability, and quick thinking. You’ll face unpredictable opponents, tight corners, and split-second decisions that test both machine and operator.
Maneuvers on the Floor
Mastering movement begins with understanding traction and turning radius. Your robot must pivot quickly without skidding, darting in and out of range with controlled bursts. Practice figure-eights and sudden stops to build muscle memory between your hands and the controller.
Withstanding the Blow
Impact resistance separates contenders from casualties. Your frame must absorb shocks without losing alignment or function. Secure all joints, reinforce weak points, and ensure electronics stay protected when the hammer drops.
Surviving punishment isn’t just about thick metal. Energy transfer during a hit can loosen screws, crack circuit boards, or dislodge batteries. Use rubber grommets, lock nuts, and strategic bracing to isolate sensitive components. A well-protected robot keeps fighting long after the first strike.
To wrap up
Upon reflecting on building a remote-controlled combat robot, you understand that success lies in balancing power, durability, and control. Your design choices directly impact performance, from motor selection to armor material. Testing under real conditions reveals weaknesses early, allowing precise adjustments. Mastery comes not from complexity, but from thoughtful execution and iterative refinement.