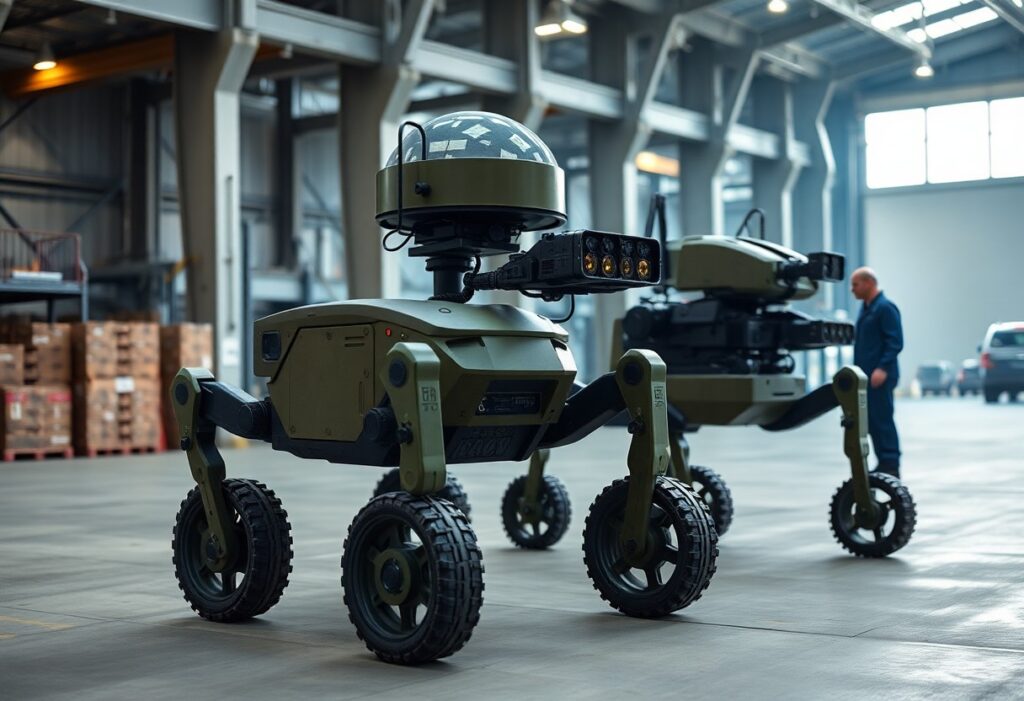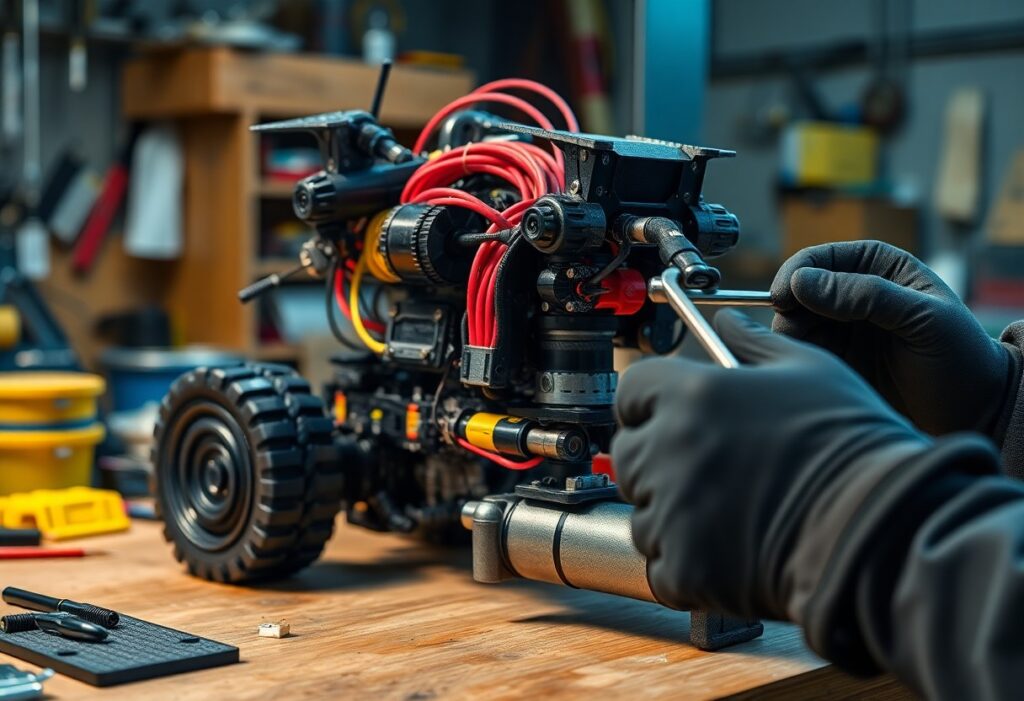
Over time, your combat robot faces tougher opponents and more demanding arenas. You need smarter motors, stronger armor, and refined control systems to stay competitive. This guide shows you exactly which components to upgrade and how to install them for maximum impact in the ring.
Evaluating Critical Performance Factors
Every combat robot’s effectiveness hinges on measurable performance traits. Focus on speed, durability, weapon impact, and maneuverability to gauge real-world capability.
- Assess how quickly your robot accelerates and turns
- Test structural integrity under repeated impacts
- Measure weapon strike force and recovery time
Perceiving subtle flaws in these areas reveals where upgrades deliver the greatest return.
Identifying Mechanical Weak Points
You often discover failure points only after damage occurs. Inspect joints, weapon mounts, and wheel hubs for stress fractures or excessive wear after each match. Listen for unusual sounds during operation-grinding or popping can signal internal strain. Reinforce or replace components showing early fatigue to prevent mid-battle breakdowns.
Analyzing Power Distribution Efficiency
Power loss in wiring or controllers robs your systems of peak performance. Monitor voltage drops across circuits while the robot operates under load. Uneven motor response or sluggish weapons may point to resistance in connections or undersized components.
Heat buildup in wires or speed controllers indicates energy wasted as resistance rather than motion. Use thicker gauge wiring, high-efficiency ESCs, and clean power routing to minimize losses. Balancing load across circuits ensures your drive and weapon systems receive consistent power when you need it most.
How to Upgrade the Drivetrain for Agility
Upgrading your drivetrain starts with choosing components that enhance responsiveness and control. Replacing stock motors with high-performance options can drastically improve acceleration and turning speed. For reliable part recommendations, check out this Help with parts for a combat robot – beginner discussion from experienced builders.
Selecting High-Torque Brushless Motors
You gain sharper acceleration and better push power by switching to high-torque brushless motors. These motors deliver consistent performance under load, allowing quick direction changes during battle. Match them with a compatible ESC to avoid overheating and ensure smooth throttle response in high-impact scenarios.
Optimizing Gear Ratios for Combat Speed
You need a gear ratio that balances speed and torque for your weight class and fighting style. Too high, and you lose acceleration; too low, and top speed suffers. Test different sprocket combinations to find the sweet spot for arena mobility.
Finding the right gear ratio means analyzing how quickly you need to close distance versus how much pushing force you want. Lighter bots often benefit from higher speed ratios to dodge attacks, while heavier bots may prioritize torque for ramming or weapon engagement. Real-world testing in your practice arena reveals what theory can’t predict-adjust incrementally and track performance changes after each match.
Enhancing Weapon System Lethality
Upgrading your weapon system directly impacts your robot’s ability to disable opponents quickly. Focus on increasing strike force, improving impact coverage, and reducing cycle time between attacks. Choose weapon types that match your weight class and arena conditions, ensuring each hit delivers maximum disruption.
Maximizing Kinetic Energy Storage
Building a high-capacity kinetic weapon starts with selecting the right mass and rotational geometry. Use dense, balanced materials in your flywheel or drum to store more energy without sacrificing structural integrity. Pair this with a high-torque motor and efficient gearing to reach lethal speeds in under three seconds.
Improving Engagement Reliability
Your weapon only matters if it hits with consistency. Strengthen the mounting assembly to resist shock-induced misalignment during collisions. Use precision bearings and rigid shafts to maintain alignment under load, ensuring every activation translates into full-power strikes.
Reliable engagement hinges on mechanical discipline. Even the most powerful spinner fails if its shaft bends or bearings seize after one hit. You need hardened shafts, preloaded bearings, and a chassis design that channels impact forces away from the weapon system. Test under real collision loads to identify flex points before competition.
Reinforcing Structural Integrity and Armor
Stronger robots survive longer in the arena. Reinforce critical joints and impact zones with layered plating and internal bracing to resist deformation. Focus on load paths to redirect force away from sensitive components. A rigid frame improves weapon efficiency and drivetrain reliability under stress.
Material Selection for Weight Optimization
Choosing the right materials directly impacts speed and durability. Use aluminum alloys for non-critical structures and titanium or hardened steel where strength is important. Balance protection with weight to stay within class limits while maximizing agility and battery life.
- Select materials based on strength-to-density ratio
- Use composites like carbon fiber for non-load-bearing panels
- Match material thickness to expected impact forces
- Consider machinability and repair speed during selection
| Material | Best Use Case |
| 6061-T6 Aluminum | Chassis frames, non-impact armor |
| Ti-6Al-4V Titanium | Weapon mounts, high-stress joints |
| 4140 Steel | Vertical spinners, impact bars |
| Carbon Fiber Sheet | Top covers, aerodynamic shrouds |
Implementing Advanced Shock Mounting
Shock absorption protects electronics and sensors during high-impact collisions. Install elastomer or spring-based mounts between the frame and critical systems like batteries and controllers. This reduces vibration fatigue and maintains consistent performance under punishment.
- Isolate electronics using silicone or urethane grommets
- Use floating mounts for heavy components like batteries
- Test damping effectiveness with drop simulations
- Ensure mounts allow no more than 2mm of travel
| Component | Mounting Solution |
| Flight Controller | 4-point silicone suspension |
| Battery Pack | Spring-loaded cradle |
| Weapon Motor | Neoprene isolation pads |
| Radio Receiver | Soft adhesive mounting tape |
Effective shock mounting begins with understanding force vectors during combat. Components react differently to linear impacts versus rotational shocks. Position isolators perpendicular to expected force directions and avoid rigid connections that transfer energy directly. Test each mount under real-world conditions to fine-tune compliance without sacrificing responsiveness.
Advanced Power Management Tips
Optimize your robot’s energy flow with smart power distribution and efficient storage. Follow these key practices to extend runtime and maintain peak performance during combat.
- Use high-efficiency voltage regulators to minimize energy loss.
- Balance power draw across subsystems to prevent voltage drops.
- Monitor battery temperature and cycle count for consistent output.
| Component | Function |
|---|---|
| LiPo Battery | Delivers high current with low weight |
| Power Distribution Board | Routes energy cleanly to motors and electronics |
| Current Sensor | Provides real-time draw monitoring |
Transitioning to High-Discharge Battery Systems
You gain immediate power delivery by switching to high-discharge LiPo or LiHV packs. These batteries support intense motor loads without sagging voltage, giving your weapon and drive system consistent performance through the match.
Protecting Electronics from EMI and Vibration
Your control board and sensors stay reliable when shielded from electrical noise and physical shock. Use proper grounding, ferrite cores, and secure mounting to keep signals clean and components intact during impacts.
Electromagnetic interference from motors and ESCs can disrupt signal transmission, leading to erratic behavior. Wrap sensitive wiring in braided shielding and route it away from high-current cables. Mount your receiver and flight controller on sorbothane or silicone grommets to absorb vibrations that could crack solder joints or damage circuitry over time.
Rigorous Testing and Tuning Procedures
Every high-performing combat robot demands real-world validation. You need to push your machine beyond standard operation to uncover hidden flaws. Structured testing reveals how components interact under pressure, allowing precise adjustments that boost reliability and aggression in the arena.
Simulating Combat Stress Loads
Stress testing exposes weaknesses before fight night. You subject your robot to impacts, torque spikes, and sustained motor loads that mimic actual combat. This process identifies structural fatigue points and overheating risks, letting you reinforce or redesign before failure occurs in competition.
Fine-Tuning Radio Control Responsiveness
Response lag can cost you the match. You adjust transmitter settings, receiver placement, and signal filtering to eliminate input delay. Every millisecond shaved from command execution sharpens your control, turning split-second decisions into immediate movement.
Radio responsiveness hinges on clean signal transmission and optimal component synchronization. You reduce interference by routing antennas away from power systems and using shielded cables. Adjusting exponential rates on your transmitter allows smoother joystick control, giving you precise throttle and weapon activation without overcorrection. Testing in the actual arena environment ensures your setup performs under real electromagnetic conditions.
To wrap up
Considering all points, upgrading your combat robot hinges on optimizing weight distribution, enhancing motor efficiency, and reinforcing armor without sacrificing speed. You achieve better performance by selecting responsive controllers, improving weapon spin-up time, and testing modifications in controlled trials. Your robot’s success depends on precision, balance, and consistent refinement based on real combat feedback.