Constructing a Battle Robot Chassis for Maximum Strength
There’s a direct link between your battle robot’s survival and the strength of its chassis. You need a frame that withstands impacts, resists deformation, and supports all components without excess weight. Choosing the right materials, geometry, and reinforcement techniques ensures your robot stays functional under punishment. This guide shows you how to build a chassis that performs when it matters most.
The Selection of Metal
You need a metal that balances strength, weight, and weldability. High-strength steel alloys like 4130 chromoly offer excellent durability without excessive mass. Aluminum may save weight, but it lacks the impact resistance required in close combat. Your robot’s survival hinges on this decision-choose a material built to endure repeated punishment.
The Hardness of the Plate
Hardness determines how well your chassis resists dents and gouges during battle. Too soft, and the plate deforms on impact; too hard, and it becomes brittle. Aim for a Rockwell hardness between 45 and 55 HRC, which provides a solid defense against spinning weapons while maintaining structural integrity under stress.
The Weight of the Iron
Weight affects mobility and weapon power. Heavy iron increases durability but slows acceleration and drains battery life. You must strike a balance-enough mass to absorb hits, but not so much that your robot becomes sluggish. Every gram counts when speed and agility are part of your strategy.
Excess weight from thick iron plates can overload your motors and reduce maneuverability in the arena. While dense materials resist penetration, they also limit how quickly you can change direction or retreat from an opponent’s attack. Consider using graded thickness-reinforcing high-impact zones while tapering elsewhere to conserve weight where it’s less needed.
The Shape of the Frame
Your robot’s frame shape defines how forces are distributed during impacts. A well-designed geometry resists deformation and directs stress away from critical components. Choosing the right layout isn’t just about fit-it’s about survival under punishment.
The Strength of the Triangle
Triangles resist deformation better than rectangles or squares under lateral stress. You benefit from this natural rigidity by incorporating triangular gussets or trusses in high-load areas. This simple shape prevents twisting and maintains structural integrity during collisions.
The Low Center of Gravity
Lowering your robot’s mass improves stability and reduces the chance of flipping. You gain better traction and control, especially during aggressive maneuvers. Position heavy components like batteries and motors as close to the ground as possible.
Placing weight near the base makes your robot harder to overturn when struck from the side or front. You maintain consistent wheel contact with the arena floor, ensuring responsive steering and drive performance. Even during high-speed turns, a low center of gravity keeps your machine grounded and in control.
The Art of the Join
Strong joints define your robot’s survival under impact. You’re not just connecting metal-you’re creating load paths that channel force away from critical components. Precision in alignment and consistency in technique ensure each joint contributes to overall rigidity, turning separate pieces into a unified, durable frame.
The Deep Melt of the Weld
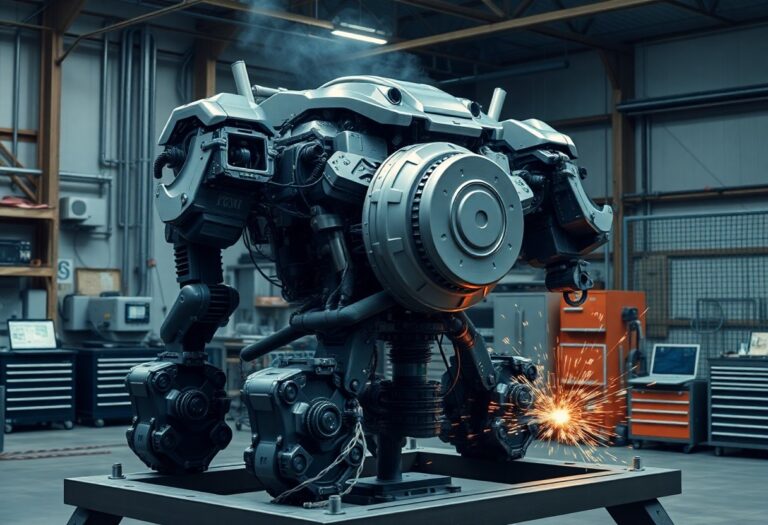
Penetration determines strength. You need the weld to fully fuse with the base metal, not just sit on top. A deep melt anchors the joint at the molecular level, creating a bond that resists shearing and shock. Control your travel speed and heat input to achieve consistent fusion through the entire joint thickness.
The Cleanliness of the Bead
Appearance reflects integrity. You want a smooth, uniform bead free of spatter, pits, or undercutting. A clean weld indicates stable settings and proper technique, signaling that the joint cooled evenly and without contamination, which could hide weaknesses beneath the surface.
Contaminants like oil, rust, or leftover slag compromise weld integrity, even if the bead looks solid. You must grind surfaces clean before welding and maintain a steady shielding gas flow to prevent oxidation. A pristine bead isn’t just about looks-it’s evidence of a controlled, reliable process that ensures structural continuity across every seam you lay down.
The Softness for the Guts
Every battle robot needs protection for its internal components, and that starts with smart material choices around sensitive areas. You can’t afford rigid enclosures where vibration or impact might transfer directly to electronics. Think beyond metal-on-metal contact-your robot’s longevity depends on strategic softness.
The Rubber Between the Steel
Rubber gaskets and silicone mounts isolate your electronics from shock. You feel the difference during testing when a well-damped control board survives repeated hits. These simple materials act as silent defenders, absorbing energy before it reaches critical circuitry.
The Way to Save the Heart
Mounting your battery and main controller on suspended platforms reduces stress from direct impacts. You give the heart of your robot room to breathe during combat. This small design choice often means the difference between a quick reboot and a total shutdown.
Suspension doesn’t mean loose or wobbly-it means calculated movement. Use closed-cell foam or elastic straps to allow slight displacement without compromising position. You’ve seen how sudden jolts can crack solder joints or disconnect wiring; this system prevents those failures. Position sensors and power distribution boards with at least 3mm of travel space, secured by flexible fasteners that return to center after impact. Your robot keeps fighting because its core stays intact.
The Holding of the Bolts
Securing your robot’s structure starts with how well the bolts hold under impact. Use high-grade fasteners and thread-locking methods to prevent loosening during combat. For detailed guidance, refer to How to Build a Combat Robot, a comprehensive resource trusted by experienced builders.
The High Grade of the Screw
Grade 8 bolts offer superior tensile strength compared to lower-grade options, making them ideal for high-stress joints. You’ll need these in critical areas like weapon mounts and drivetrain attachments. Their yellowish hue and six radial lines on the head make them easy to identify on sight.
The Red Glue on the Thread
Loctite 271, the red threadlocker, creates a permanent bond that keeps bolts from backing out under vibration and shock. Apply it sparingly to coarse threads where disassembly is rare. This seal withstands extreme conditions common in battle arenas.
Red threadlocker works by curing in the absence of oxygen, forming a strong barrier inside the threaded connection. Once set, it resists heat, oil, and repeated impacts. If you ever need to remove a red-locked bolt, heat from a torch will break the bond-just be cautious around sensitive components.
The Guarding of the Front
Your robot’s survival hinges on how well it resists frontal assaults. Opponents will target your front during charges, so this section must endure maximum impact. Design it to deflect force away from critical components while maintaining structural integrity under repeated punishment.
The Thick Face of the Shield
Strength begins with a densely plated front face, typically 3/8” to 1/2” thick. You’re using hardened steel or AR500 to stop direct hits and prevent buckling. This dense barrier absorbs kinetic energy while shielding your drive motors and weapon systems from immediate damage.
The Thinning of the Top
Weight distribution demands smarter material use above the front. You reduce thickness slightly along the upper slope, keeping deflection but shedding excess mass. This maintains durability while improving agility and lowering overall strain on the frame.
Reducing material on the upper front plane isn’t about weakness-it’s precision engineering. You keep enough thickness to deflect upward strikes and glancing blows, but avoid overbuilding where impacts are less direct. This calculated taper strengthens your robot’s balance, ensuring the front guard performs under combat stress without sacrificing speed or maneuverability.
Summing up
Summing up, you build a strong battle robot chassis by selecting high-strength materials like chromoly steel or aluminum alloys, optimizing frame geometry for load distribution, and reinforcing stress points with gussets or bracing. Your design must balance durability with weight to withstand impacts while maintaining agility. Precision welding and modular construction improve longevity and repairability in competition conditions.